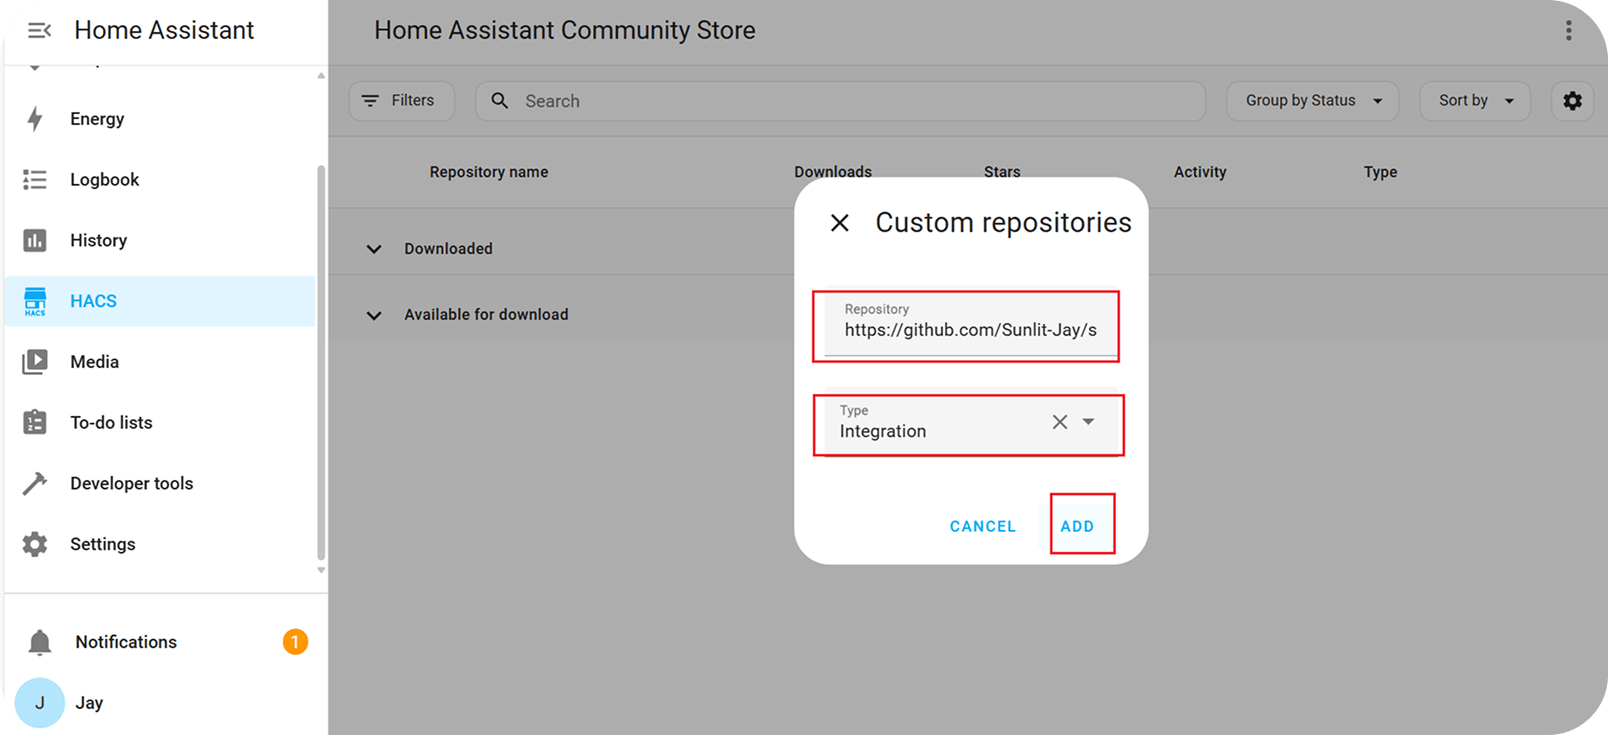
Access the settings pop-up window for "Custom repositories" by following the steps (1-3) as shown in the screenshot.
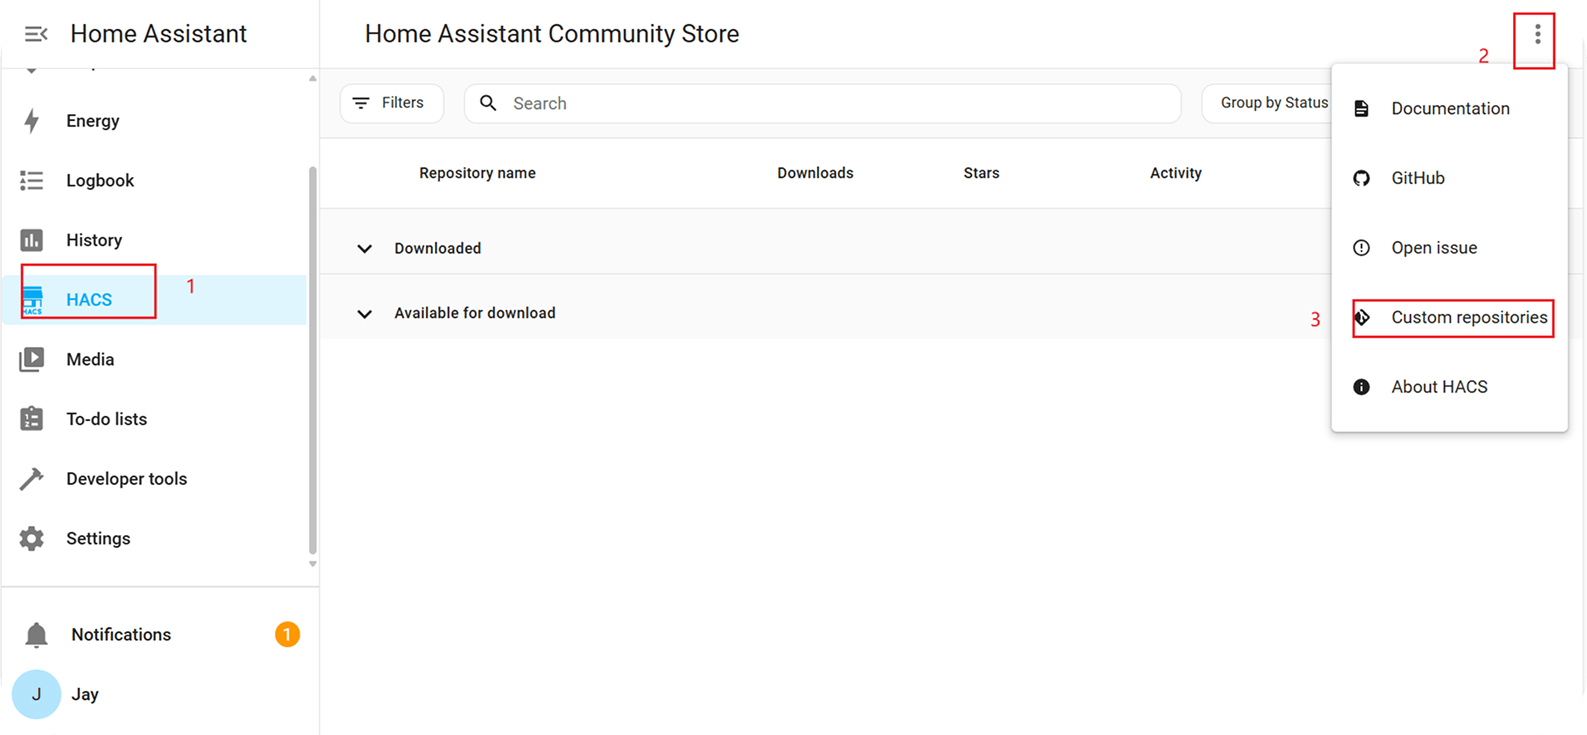
Fill in the relevant information according to the instructions, then click on "ADD".
- Repository: https://github.com/SunEnergyXT/solarma-sunlit/releases
- Type: Integration
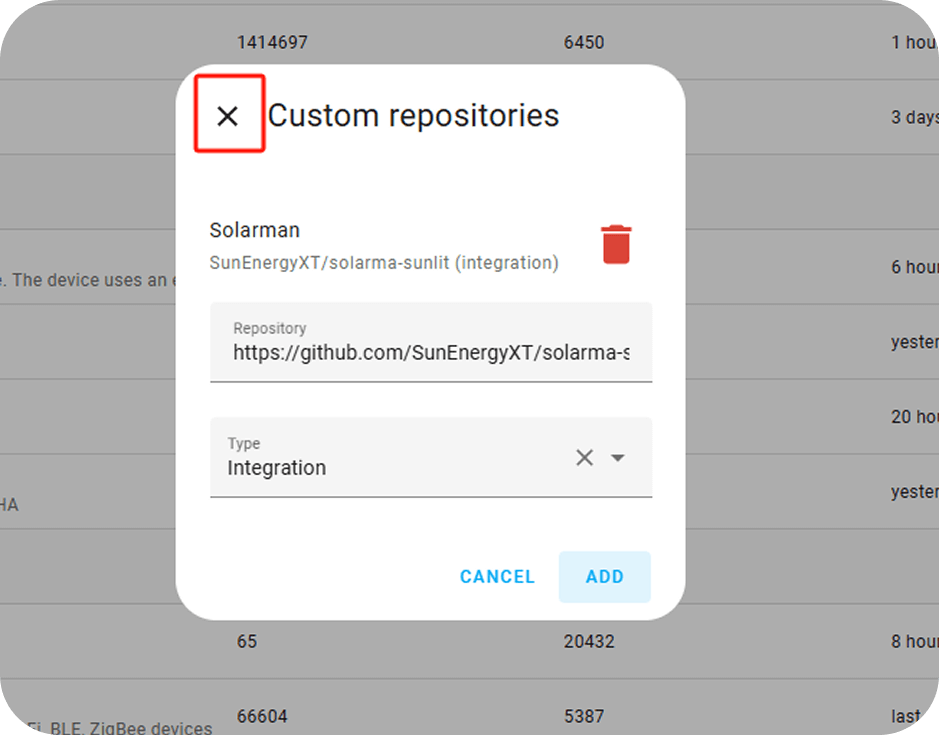
After successfully adding Custom repositories, click on "Close".
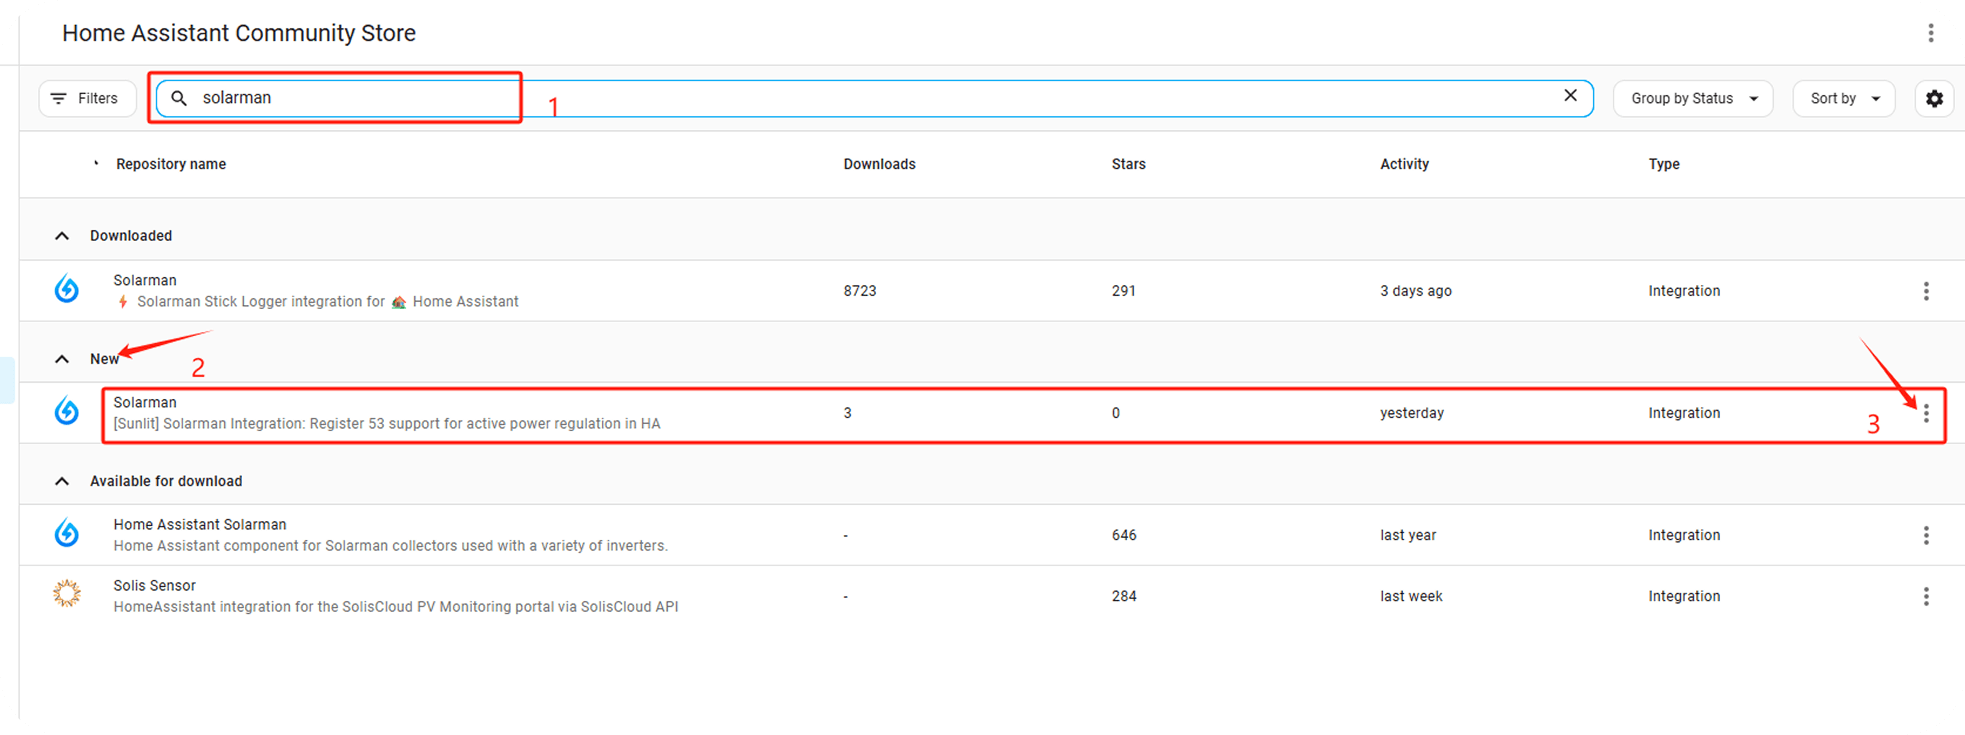
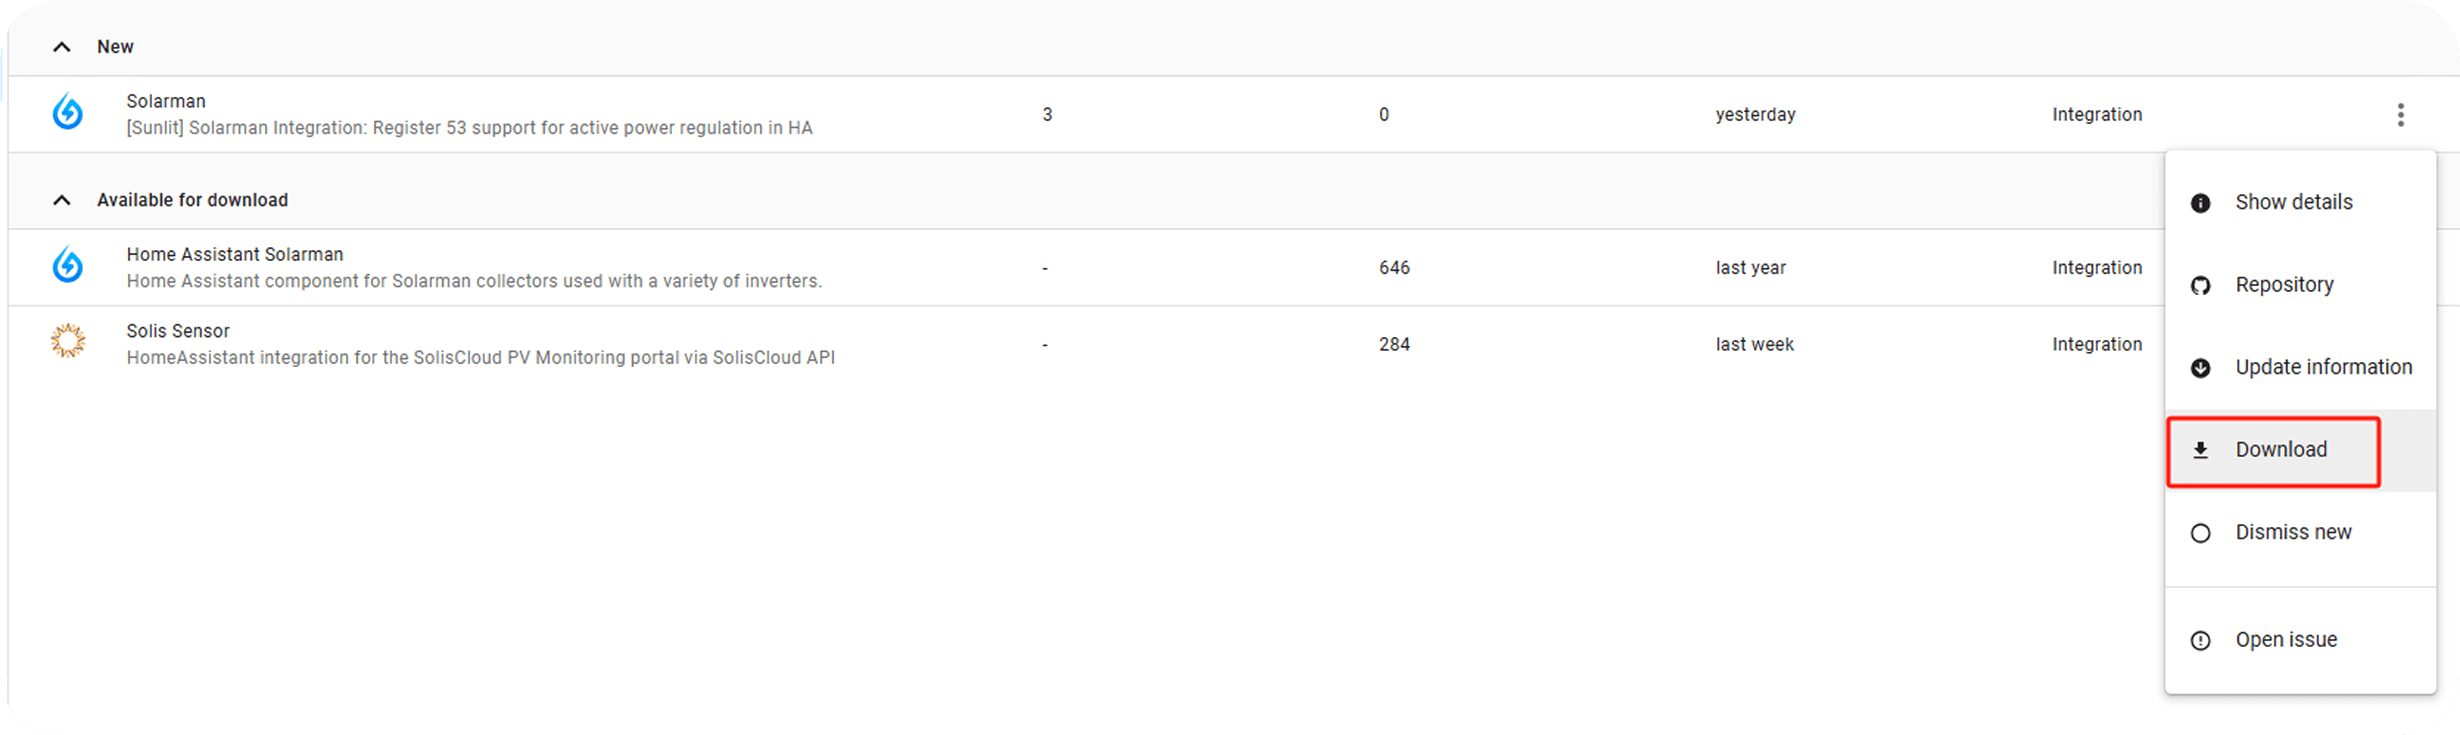
Enter "Solarman" in the search box (1), then look for "[Sunlit] Solarman Integration..." under the "New" category (2), then click on the "More" icon (3).
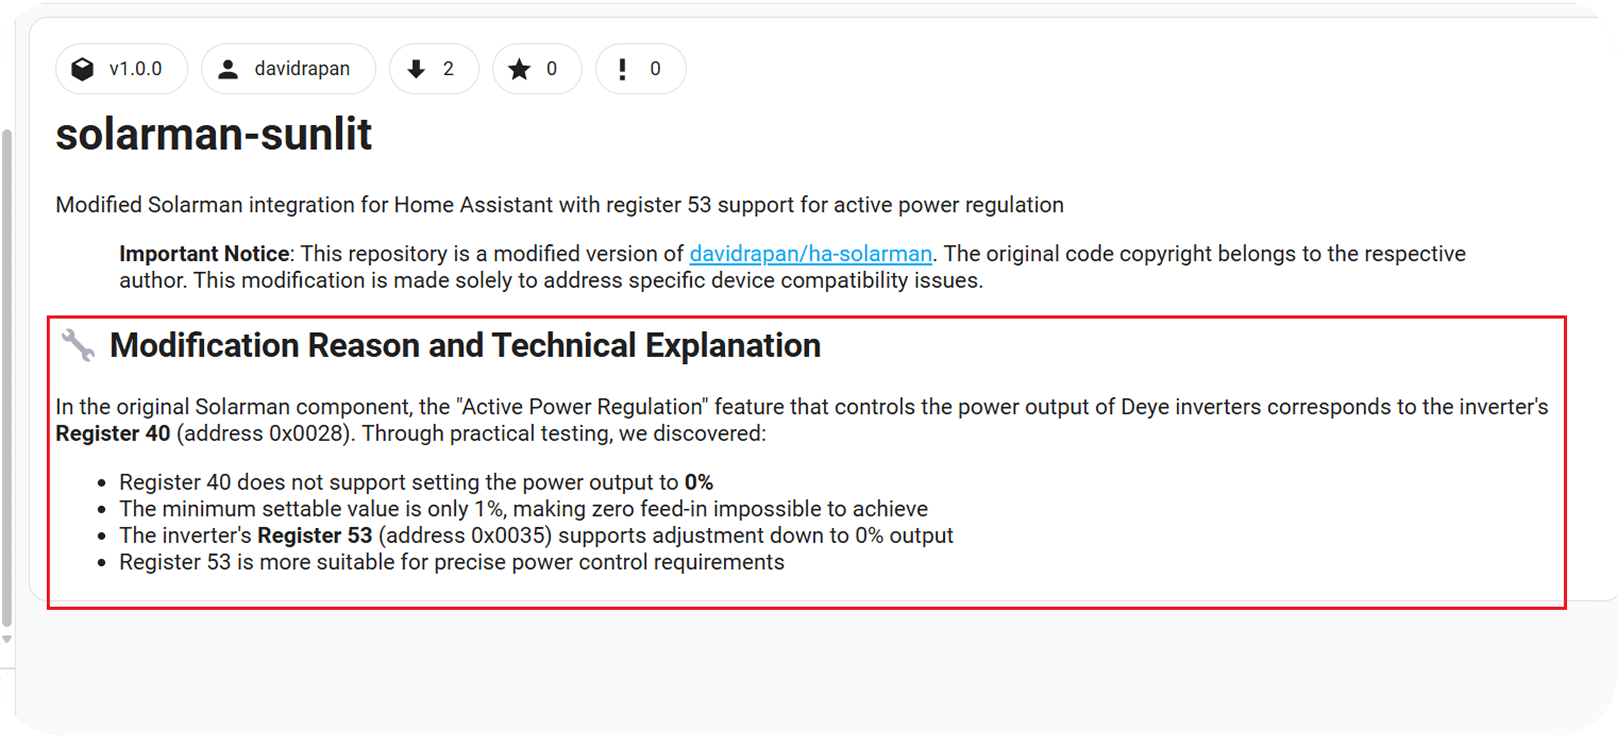
Note: If the official Solarman component was previously installed in HACS, this download will overwrite the original component, view the component description to find more details.
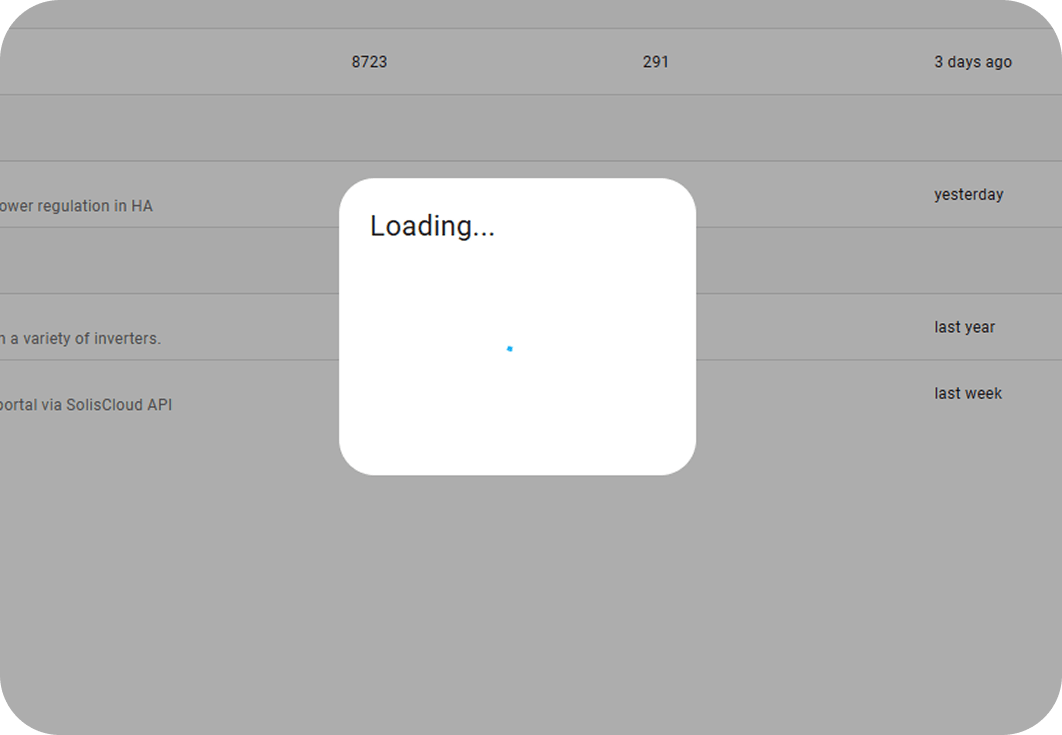
Click "Download" as shown in the screenshot, then waiting for the loading process.
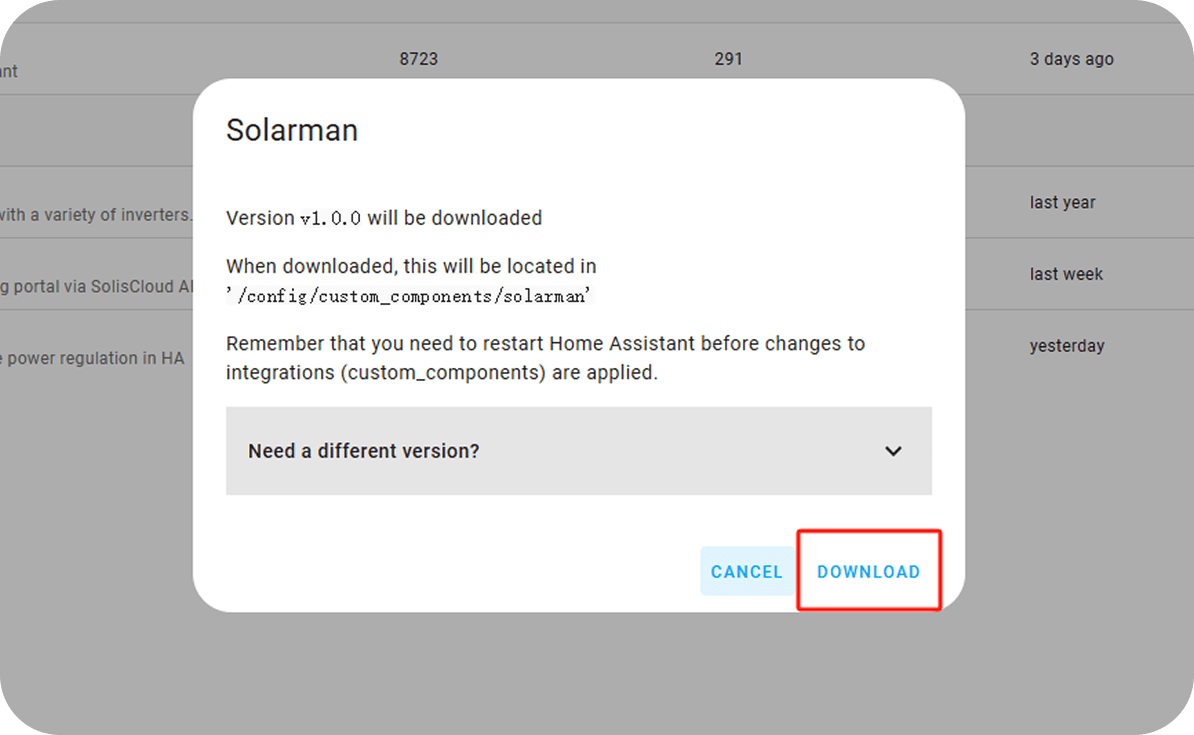
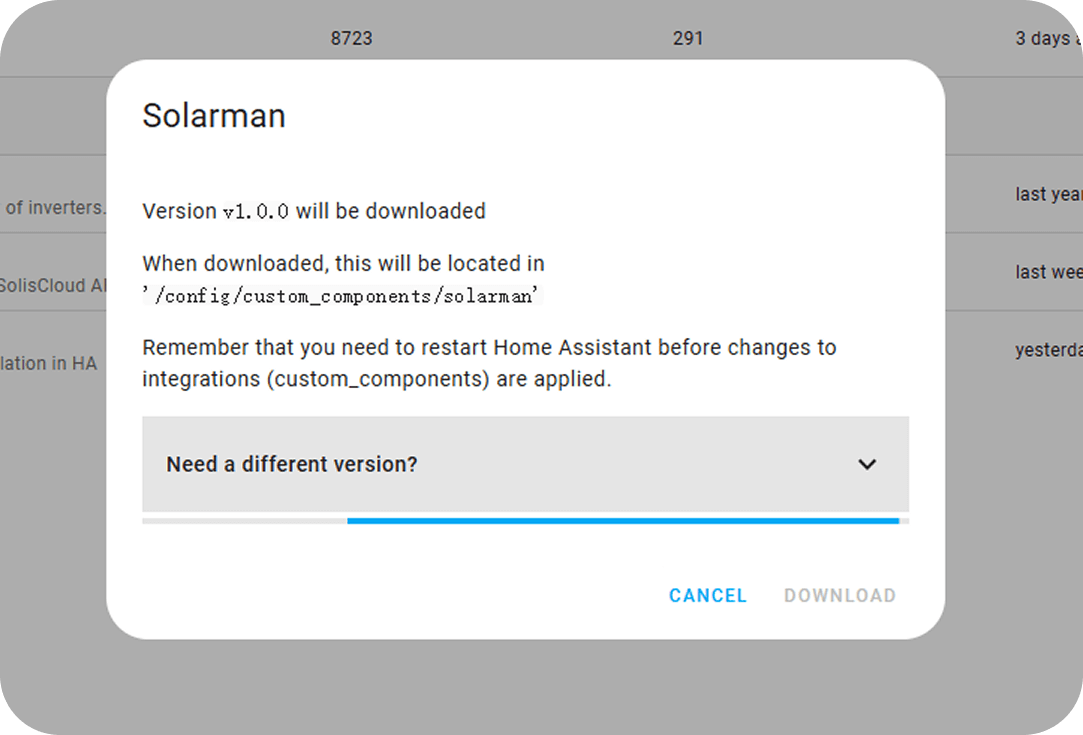
After loading process is complete, continue by clicking on "Download" and wait for the download to finish.
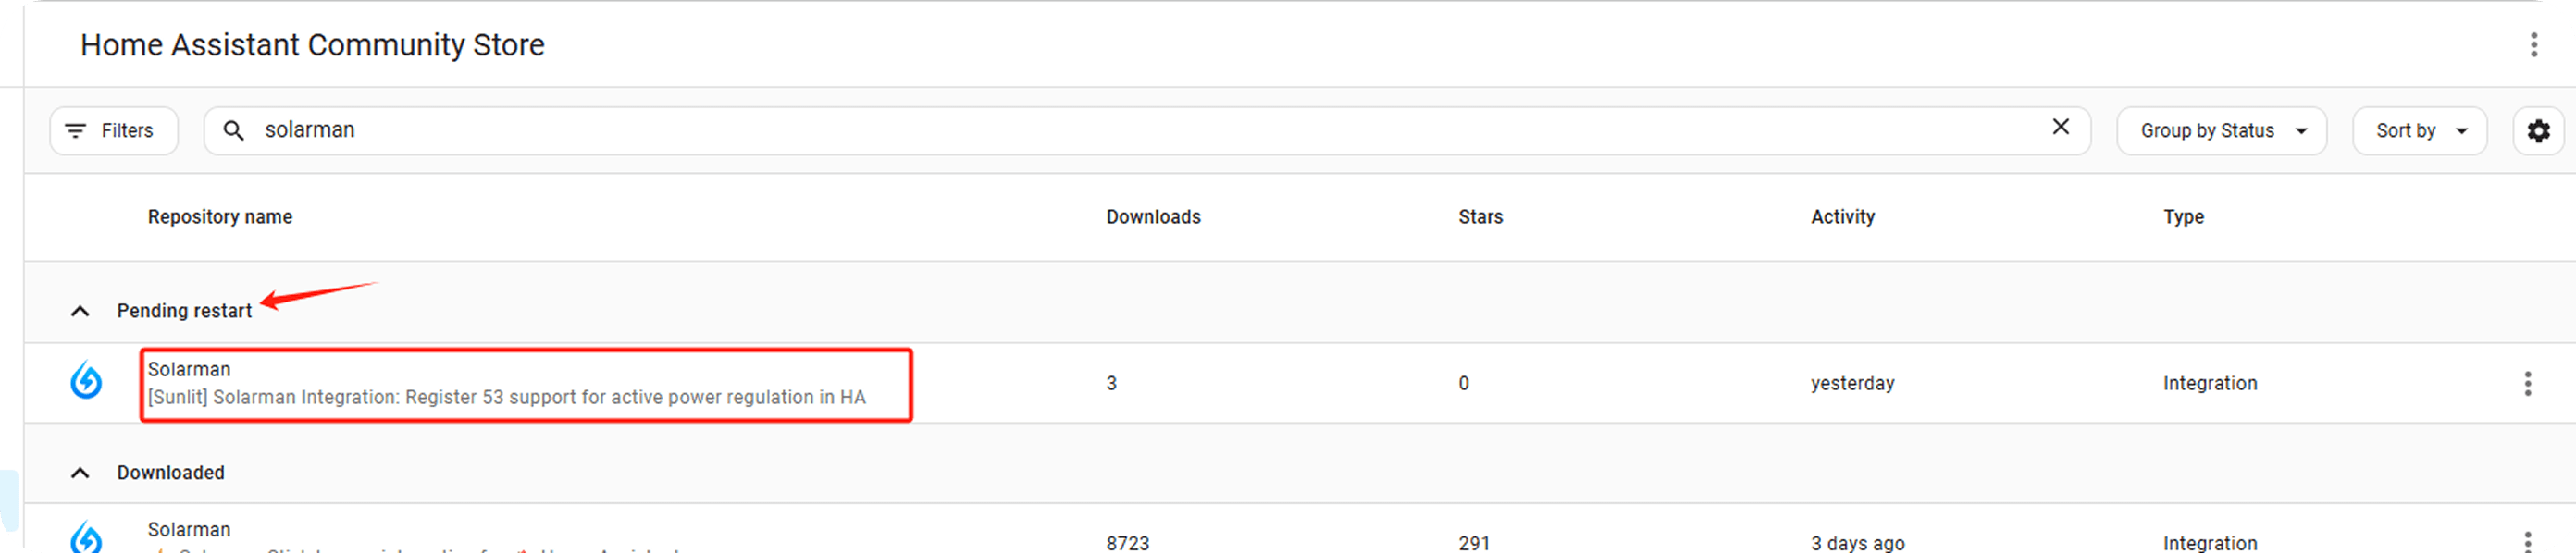
After closing the download pop-up window, the corresponding Solarman plugin will appear under the "Pending restart" category. This indicates that the download and installation process is complete.
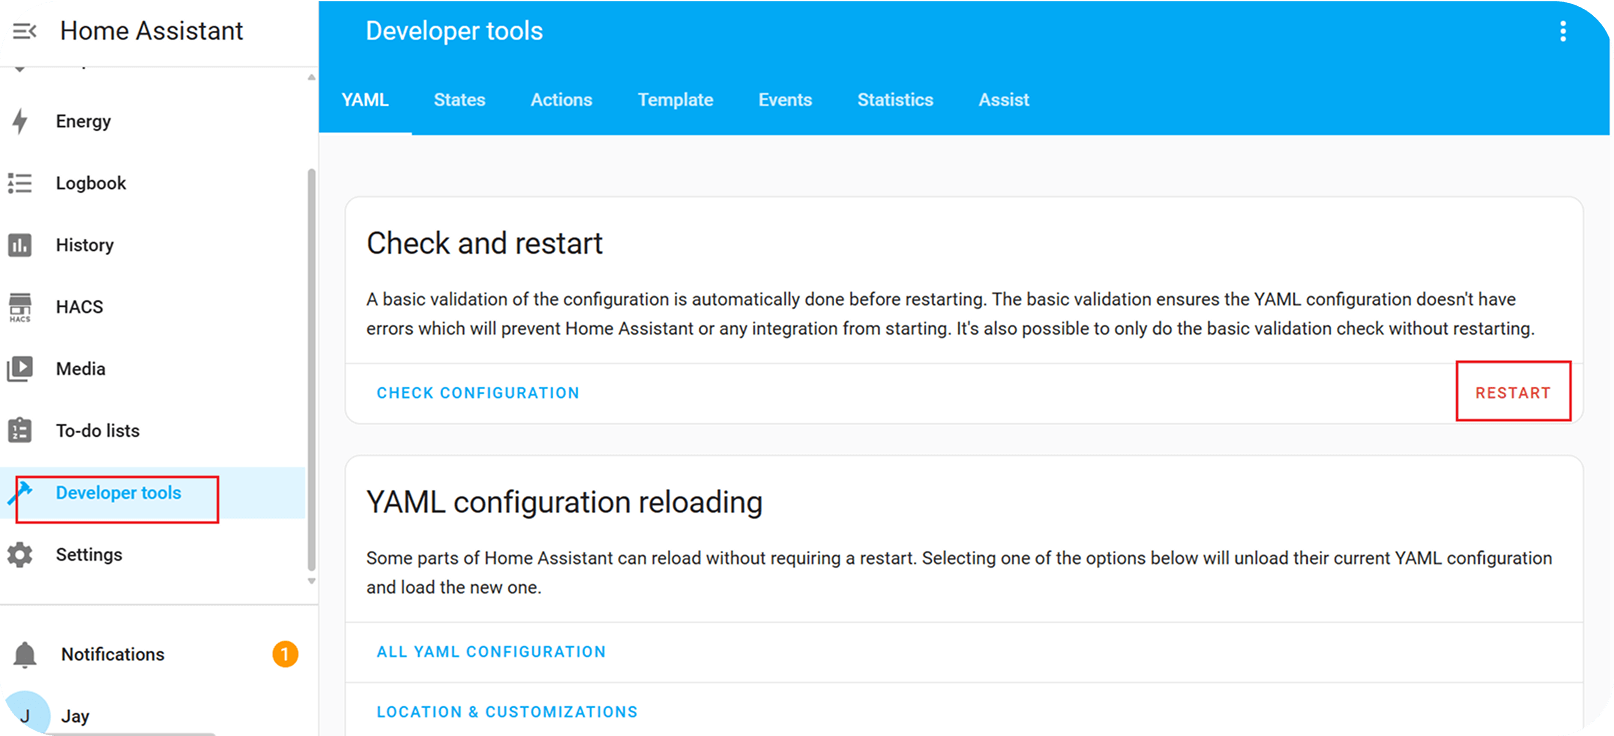
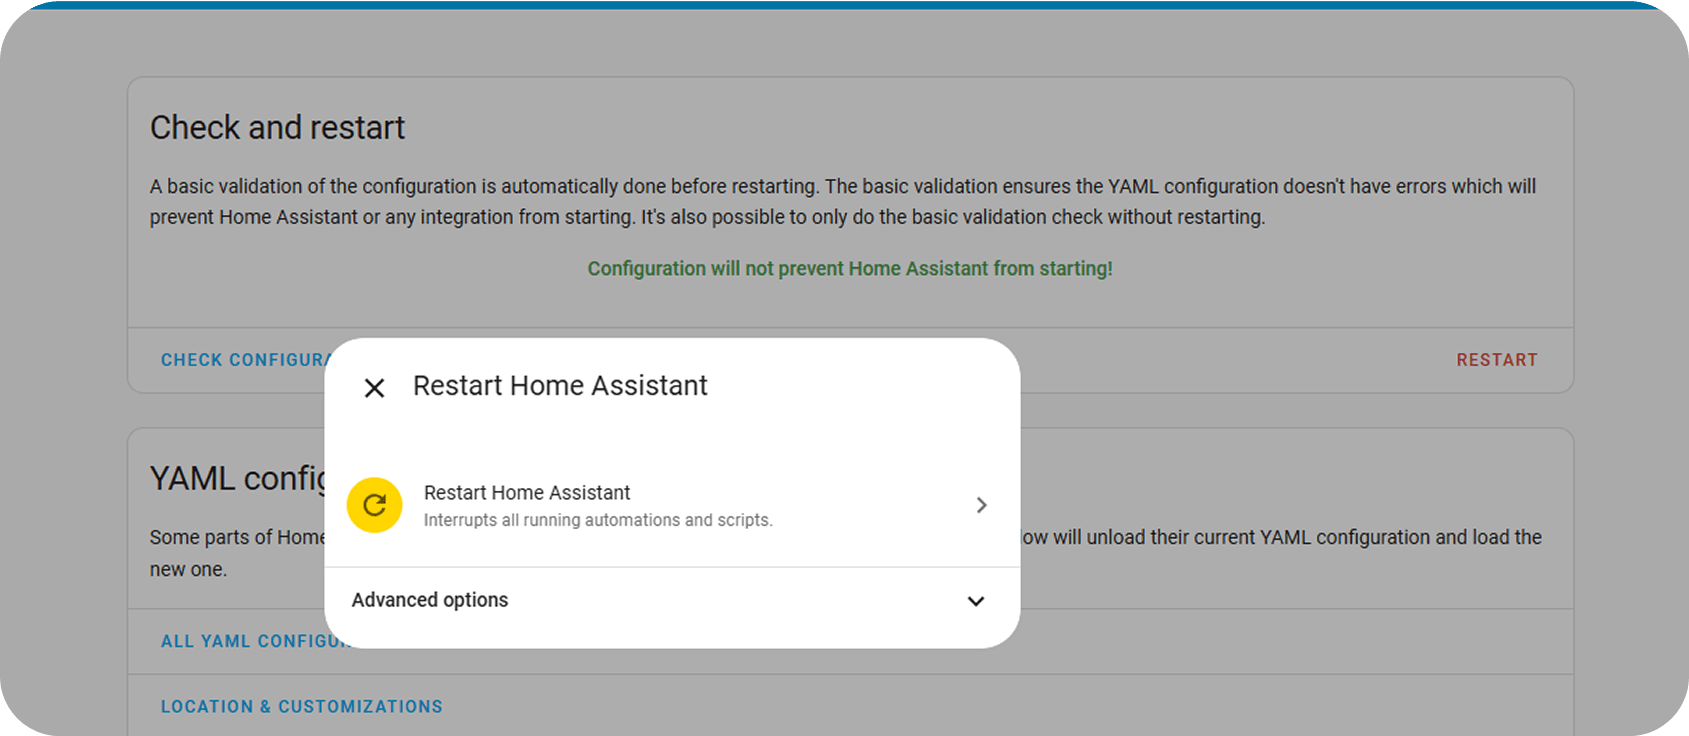
After the download process is complete, go to the “Developer tools” page and click on "Restart", then select "Restart Home Assistant" in the pop-up window.
Please wait for Home Assistant to finish its restart process.
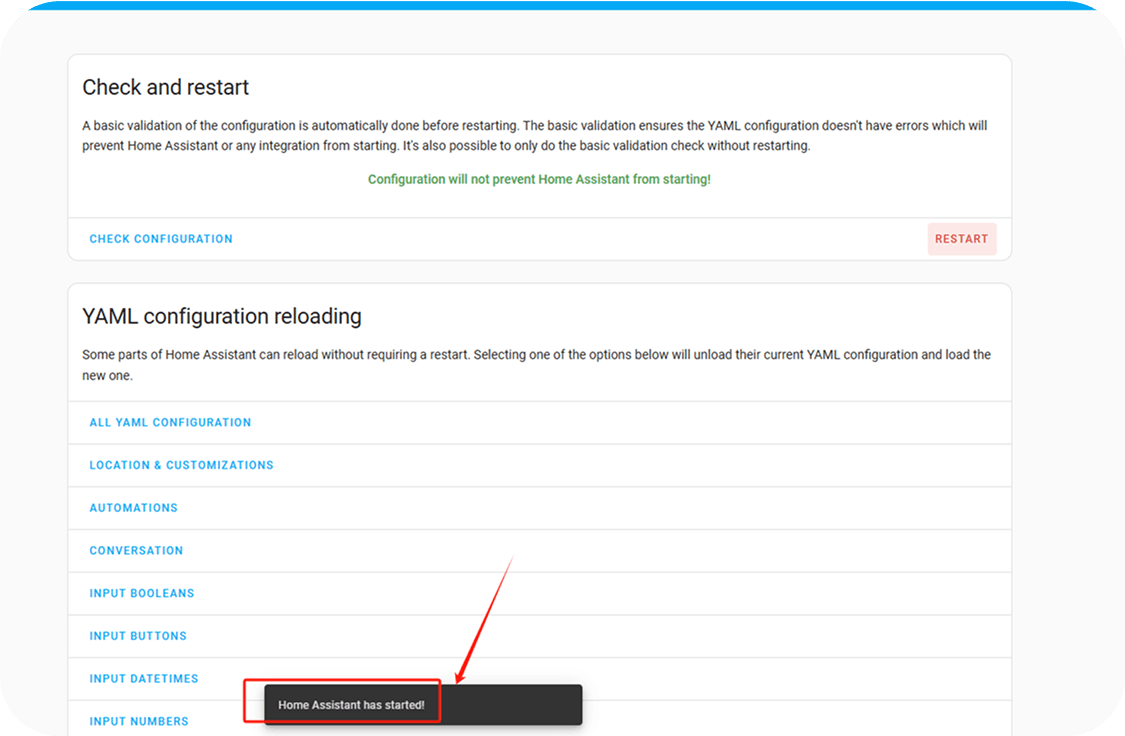
After the restart is complete, you may proceed with the subsequent steps.